In the process of writing a sanding tutorial, I ran into the problem of trying to explain how to use basic putty to fill any holes, gaps and sink mark on a model kit. If I were to use putty to fill, then I have to paint the model kit, since basic putty only comes in white and grey. How are people who do not intend to paint going to fill the hole? I am now trying out the alternative means to putty and people who do not intend to paint can also use. Here is the jist of the idea.
1. Cut off the runner of the same colour as the plastic part I intend to fill.
2. File it into fine powder.
3. Apply a thin layer of extra thin cement over the hole.
4. Sprinkle the plastic powder over the cement.
5. Compact with a paint stirrer.
6. Apply another thin layer of extra thin cement over the plastic powder to dissolve it.
7. Repeat the process until the hole, gap or sink mark is filled.
8. Wait for 1 to 2 days for the plastic to harden before sanding.
I think the theory is sound, but not sure if the above method will work in practice, but I will give it a try. Will update on this issue. Any other suggestions or comments for this problem are welcome.
Update
I tried the above method and the results are as follows:
1. It works for the softer plastics (probably polystyrene).
2. The results on the harder and more brittle plastics (probably ABS or similar plastics) is not as good, because the cement cannot melt the plastics effectively.
3. Another problem is the mess leave behind if not done properly. (I destroyed my old coffee bean grinder, trying to grind the plastic to powder form. Lol, I got lazy to file)
Unfortunate for those who do not wish to paint their kits, but I am left to conclude that using putty may still be the best option yet.
As many modeller knows basic putty has it's own problem to be discussed at a later time.

Saturday, January 15, 2011
Monday, January 10, 2011
Tutorial - Basic Tools (Part 1)
This being my first attempt in writing a tutorial, I will try to be as clear and concise as possible. I have to apologise for the photo, because I am not much of a photographer.
For this tutorial, I will be using the Sanguo kuden soldier to demonstrate the use of some basic modelling tools.
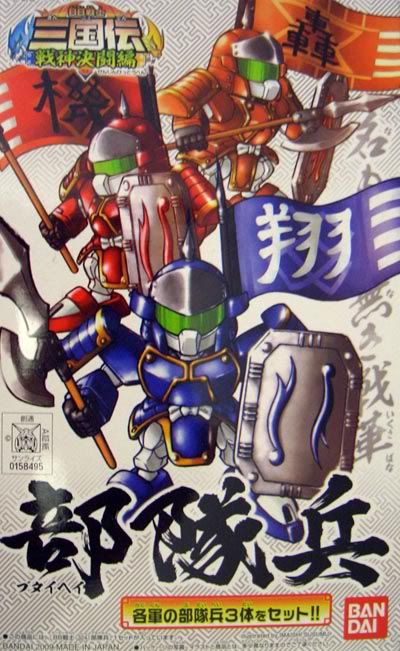
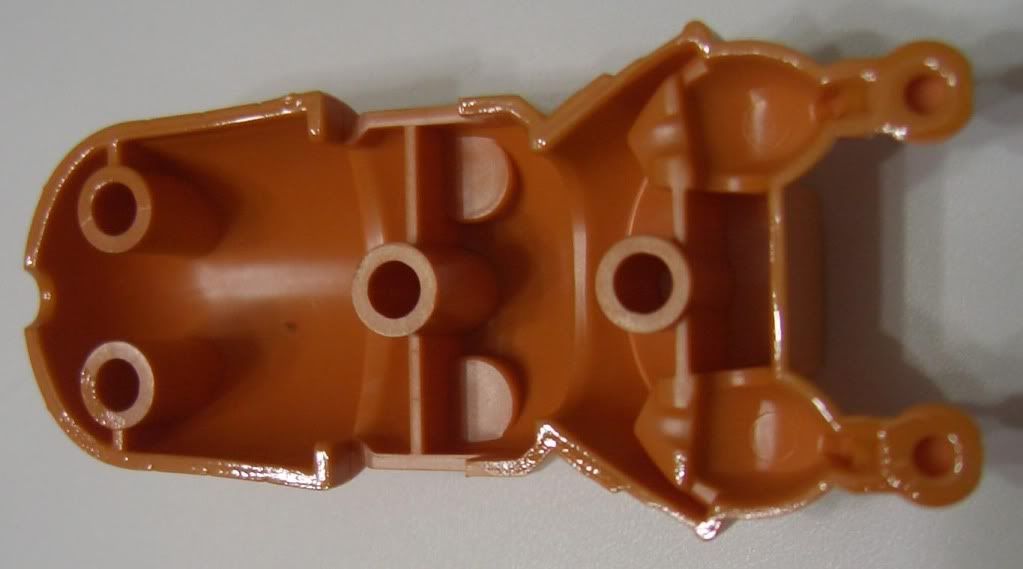
One of the tools that you will need is a knife (A hobby knife or penknife, will discuss the differences in some other tutorial) to open the plastic bag for the "runners" (The frame where all the parts are attached to, a.k.a. the spruce)

Below picture shows the "runner"
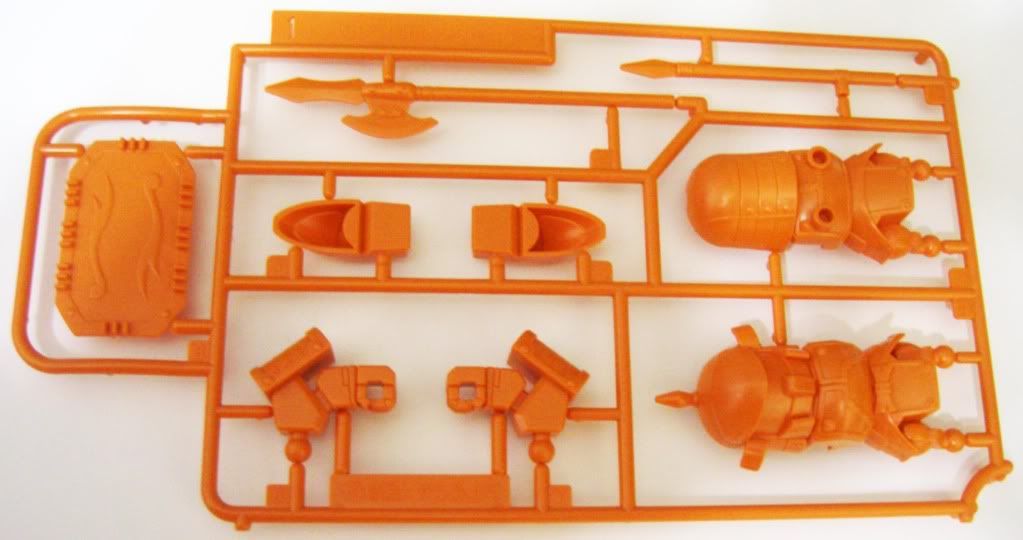
The first step in modelling is always to check if all the parts are on the runner before cutting open the clear plastic bag containing the runner. Next we need to remove the parts from the runner using a side cutter. I normal use a two step method, which I will call the 'Cut and Trim' method.
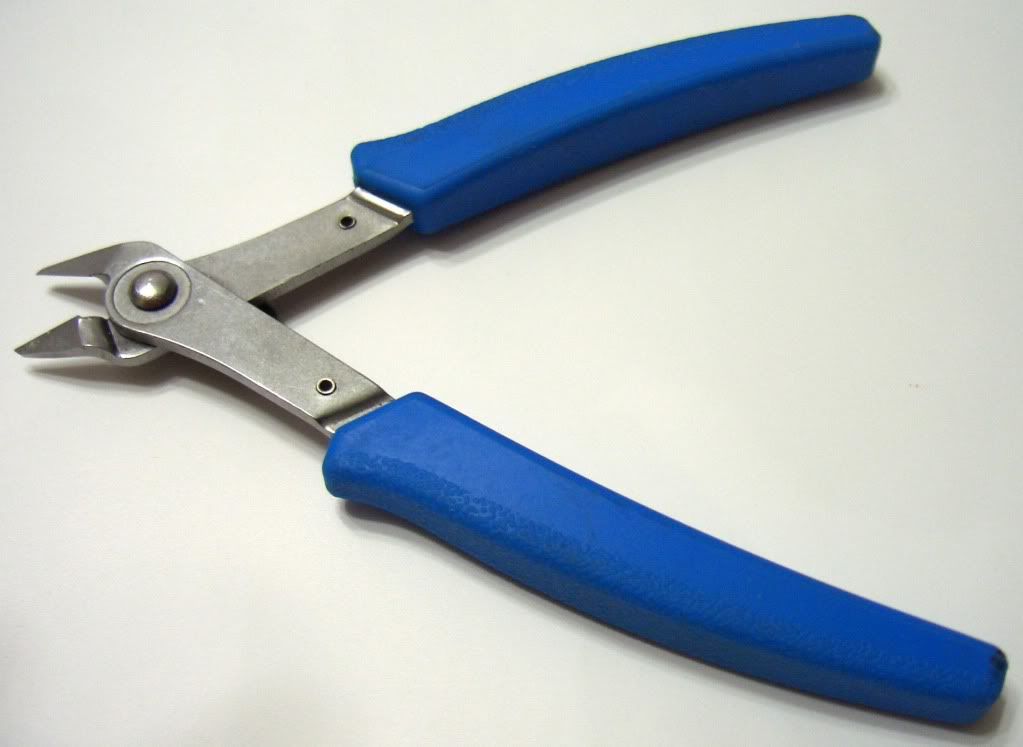
A plastic side cutter has one cutting surface which is flat (Lets call it the 'flat side'). It looks like any side cutter, which you can buy from any hardware store. A good plastic side cutter is very sharp and it will not rust easily. I was asked many times whats the difference, so I decided to try using a side cutter from the hardware store and the plastic side cutter. The industrial side cutter is not as sharp and sometimes damages the plastic parts by "biting" a hole during triming (more obvious with the bigger parts)
The 'Cut and Trim' method is divided into 2 steps.
Step 1:
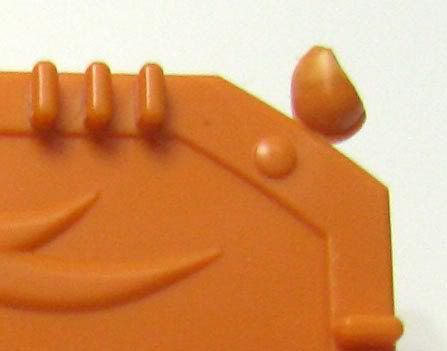
Cut the part from the runner with the 'flat side' facing away from the part. (Although the Sanguo kuden parts were designed to be snap off the runner, but it leaves behind a small hole)

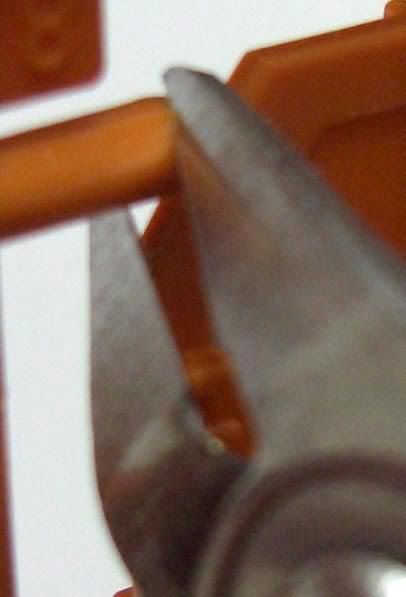
Step 2 :
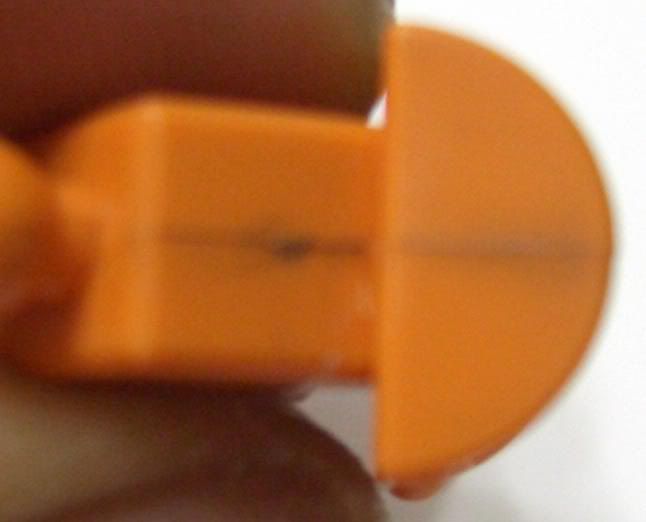
Trim the excess by placing the 'flat side' of the cutter flush with the part as shown in the picture below.
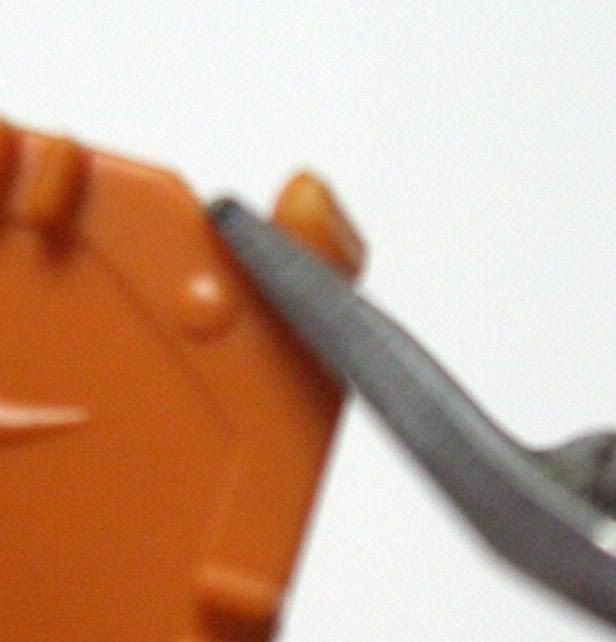
No matter how sharp your cutter is, it would leave behind a small "stub"

The stub can be removed using a sandpaper or a sanding stick.
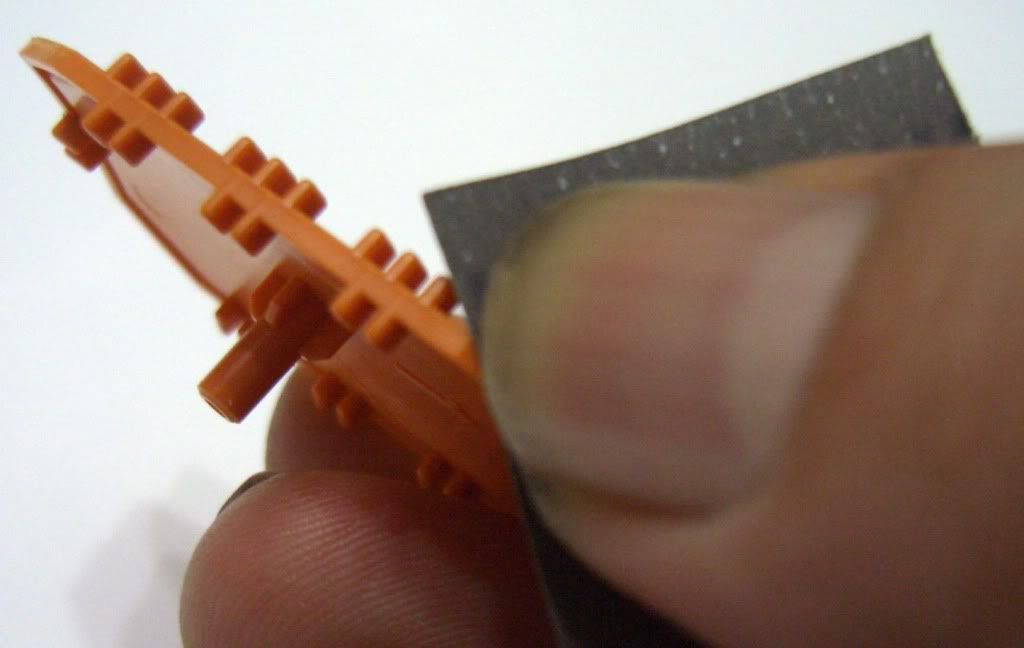 Sand along the side to remove the stub. Start with 400 grade sandpaper, progress to 600 then 1000 grade. (The larger the number on the sandpaper, the finer the finish)

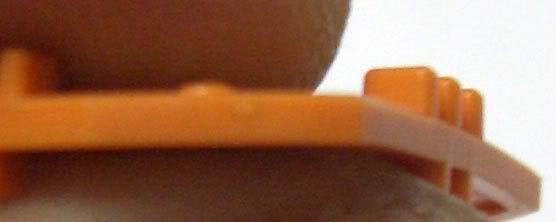
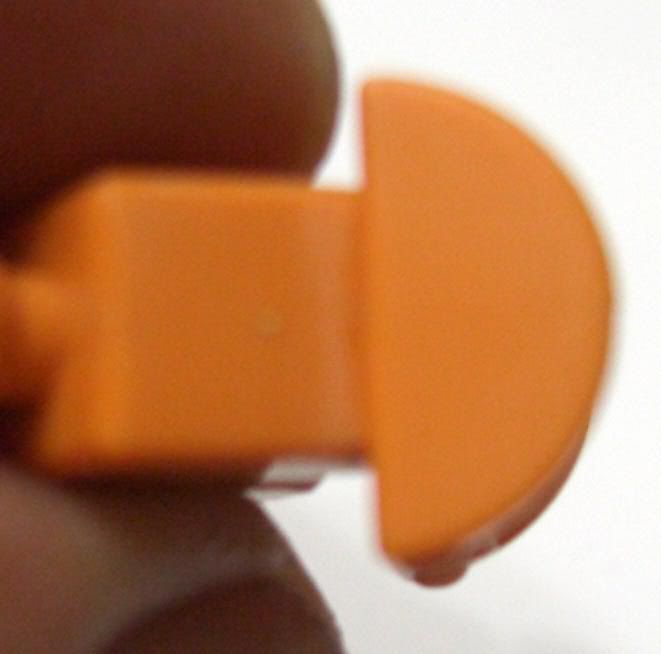
You will notice after sanding, the surface is flat but the stub still appears to be there. The mark is a slight discolouration of the plastic cause by fracturing of the plastic when we trimmed. If you intend to paint the model, the mark will disappear under the paint. However, if you do not intend to paint, you can make it less noticable by applying a thin layer of Tamiya Extra Thin cement. It will 'melt' the plastic a little and when it hardens again after a day, sand a little and the mark would not be obvious.

Next step is to remove 'mold line'. Mole lines can be found in all plastic manufactured using injection molding. I highlighted the mold line with a pencil. It can be remove by just sanding it. Notice the discolouration of the plastic after I sanded it with 400 grade sandpaper. Don't worry, just sand it with finer grade sandpaper and the plastic will return to near it's original colour.

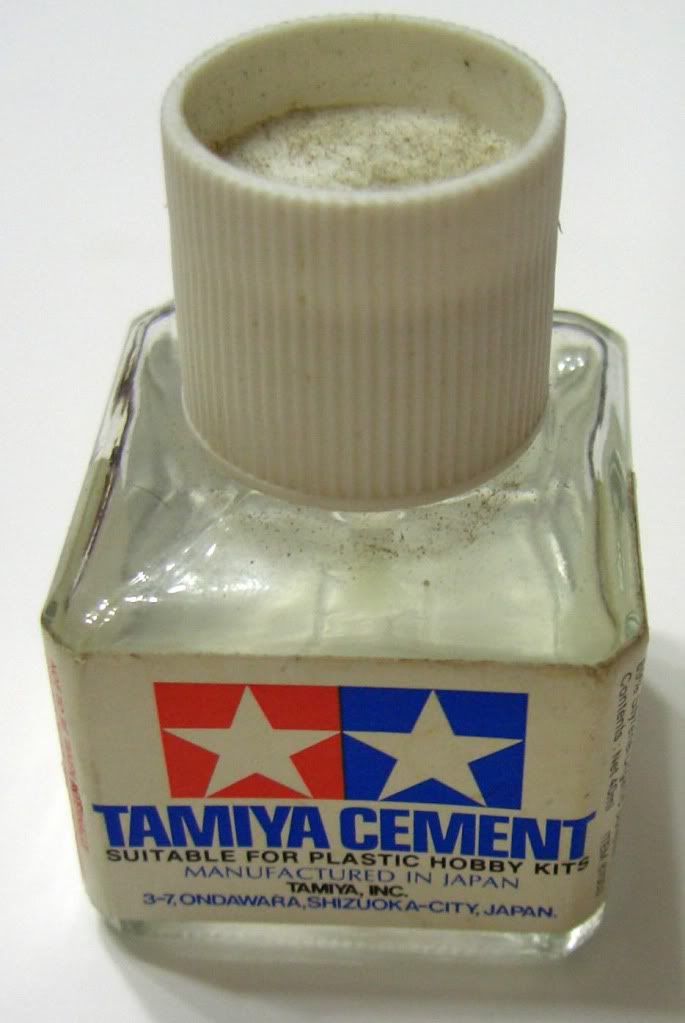
Lastly, some of the parts need to be cemented together. I use Tamiya cement (There are other brands out there, but do not use super glue). Apply the cement on one side of the part to be bonded. The cement will 'melt' the plastic slightly, which allows the plastic from both parts to fuse together. (For larger parts, do not use Extra Thin cement, it drys too quickly). Press the two pieces of plastic tightly, would be good if there is a little overflow of plastic. Make sure there is no gap between the two pieces of plastic.

This concludes the tutorial introducing basic tools like plastic side cutter, knife, sandpaper and cement. Next time I will show how to remove seam lines formed when 2 parts of plastic are bonded together. Hope this tutorial is help for you.
For this tutorial, I will be using the Sanguo kuden soldier to demonstrate the use of some basic modelling tools.
One of the tools that you will need is a knife (A hobby knife or penknife, will discuss the differences in some other tutorial) to open the plastic bag for the "runners" (The frame where all the parts are attached to, a.k.a. the spruce)
Below picture shows the "runner"
The first step in modelling is always to check if all the parts are on the runner before cutting open the clear plastic bag containing the runner. Next we need to remove the parts from the runner using a side cutter. I normal use a two step method, which I will call the 'Cut and Trim' method.
A plastic side cutter has one cutting surface which is flat (Lets call it the 'flat side'). It looks like any side cutter, which you can buy from any hardware store. A good plastic side cutter is very sharp and it will not rust easily. I was asked many times whats the difference, so I decided to try using a side cutter from the hardware store and the plastic side cutter. The industrial side cutter is not as sharp and sometimes damages the plastic parts by "biting" a hole during triming (more obvious with the bigger parts)
The 'Cut and Trim' method is divided into 2 steps.
Step 1:
Cut the part from the runner with the 'flat side' facing away from the part. (Although the Sanguo kuden parts were designed to be snap off the runner, but it leaves behind a small hole)
Step 2 :
Trim the excess by placing the 'flat side' of the cutter flush with the part as shown in the picture below.
No matter how sharp your cutter is, it would leave behind a small "stub"
The stub can be removed using a sandpaper or a sanding stick.
You will notice after sanding, the surface is flat but the stub still appears to be there. The mark is a slight discolouration of the plastic cause by fracturing of the plastic when we trimmed. If you intend to paint the model, the mark will disappear under the paint. However, if you do not intend to paint, you can make it less noticable by applying a thin layer of Tamiya Extra Thin cement. It will 'melt' the plastic a little and when it hardens again after a day, sand a little and the mark would not be obvious.
Next step is to remove 'mold line'. Mole lines can be found in all plastic manufactured using injection molding. I highlighted the mold line with a pencil. It can be remove by just sanding it. Notice the discolouration of the plastic after I sanded it with 400 grade sandpaper. Don't worry, just sand it with finer grade sandpaper and the plastic will return to near it's original colour.
Lastly, some of the parts need to be cemented together. I use Tamiya cement (There are other brands out there, but do not use super glue). Apply the cement on one side of the part to be bonded. The cement will 'melt' the plastic slightly, which allows the plastic from both parts to fuse together. (For larger parts, do not use Extra Thin cement, it drys too quickly). Press the two pieces of plastic tightly, would be good if there is a little overflow of plastic. Make sure there is no gap between the two pieces of plastic.
This concludes the tutorial introducing basic tools like plastic side cutter, knife, sandpaper and cement. Next time I will show how to remove seam lines formed when 2 parts of plastic are bonded together. Hope this tutorial is help for you.
Introduction
Hi everyone,
My name is Erik and I started modelling in the 70s doing Matchbox, Airfix and Tamiya models. In those days I only tools I had were nail-clippers and panda glue to build my models. There was a long lapse from 1982 to 2004, where school-work, NS and work commitments kept me away from modelling.
When I visited a Gundam shop back in 2004, the flame inside me started to burn again. I was totally overwhelmed by the tools and equipments now available for modelling. It was a pretty heavy bit of investment getting what I needed. I thought it might be good for me to share some of experience for people who are interested in the same hobby or those who may wish to pick up this hobby but do not know where to start.
In my next post, I will be introducing some of the basic tools and techniques needed to start this hobby.
So stay tune. (No reason for me to procastinate anymore)
Subscribe to:
Posts (Atom)