
For this tutorial, I will be using the Sanguo kuden soldier to demonstrate the use of some basic modelling tools.
One of the tools that you will need is a knife (A hobby knife or penknife, will discuss the differences in some other tutorial) to open the plastic bag for the "runners" (The frame where all the parts are attached to, a.k.a. the spruce)

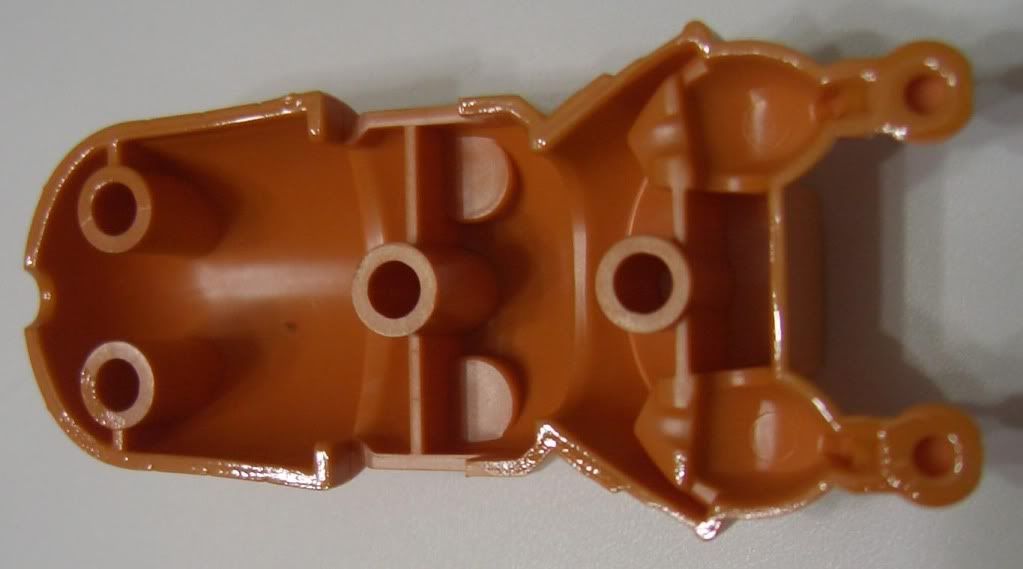
Below picture shows the "runner"
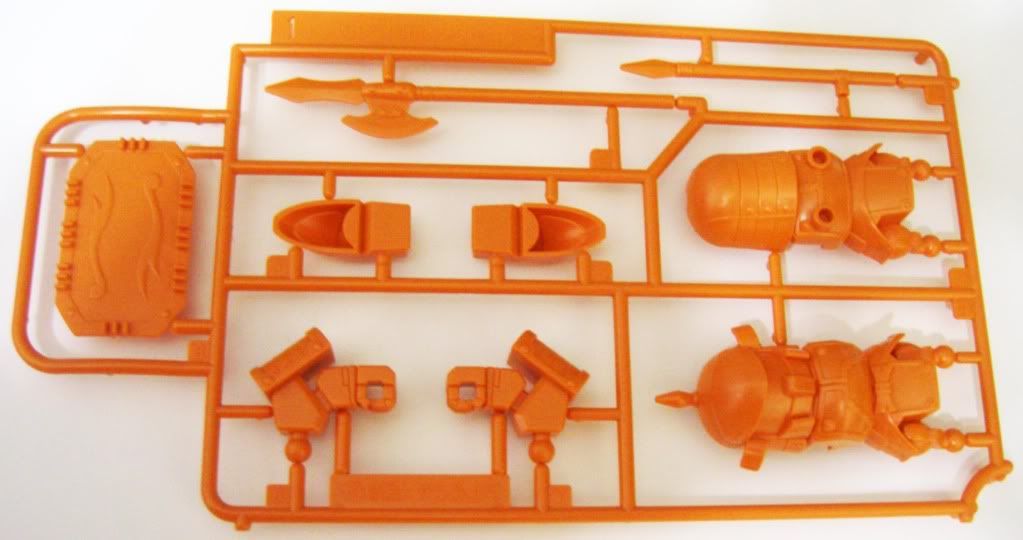
The first step in modelling is always to check if all the parts are on the runner before cutting open the clear plastic bag containing the runner. Next we need to remove the parts from the runner using a side cutter. I normal use a two step method, which I will call the 'Cut and Trim' method.
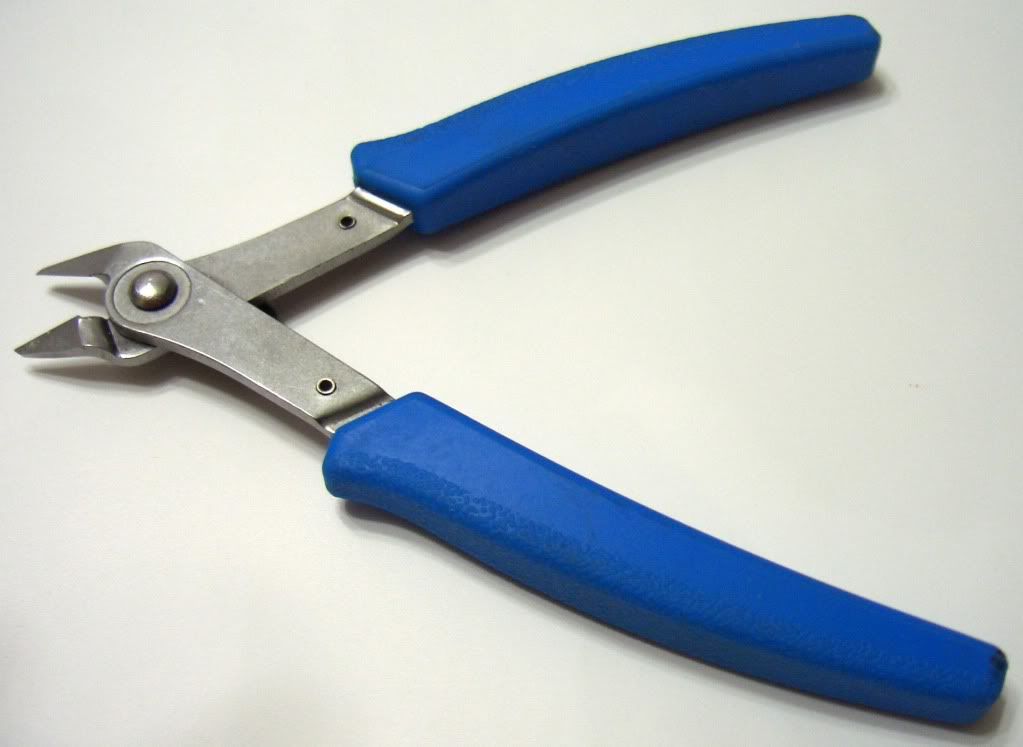
A plastic side cutter has one cutting surface which is flat (Lets call it the 'flat side'). It looks like any side cutter, which you can buy from any hardware store. A good plastic side cutter is very sharp and it will not rust easily. I was asked many times whats the difference, so I decided to try using a side cutter from the hardware store and the plastic side cutter. The industrial side cutter is not as sharp and sometimes damages the plastic parts by "biting" a hole during triming (more obvious with the bigger parts)
The 'Cut and Trim' method is divided into 2 steps.
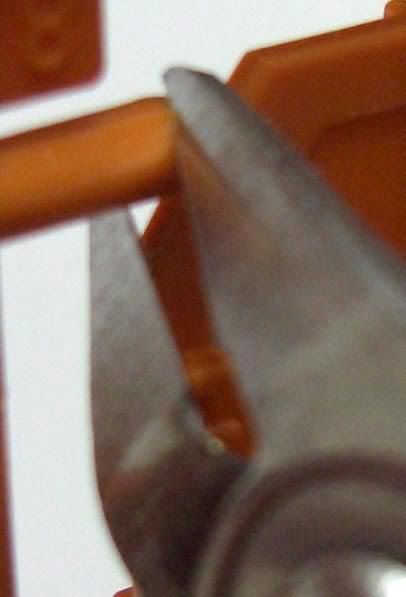
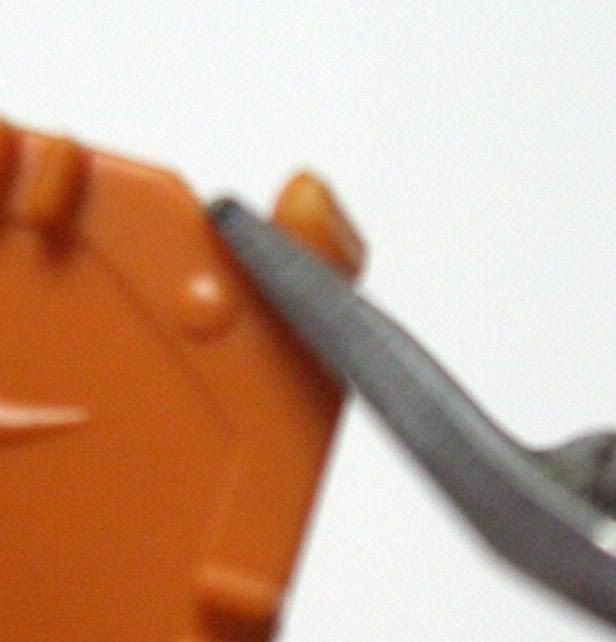
Step 1:
Cut the part from the runner with the 'flat side' facing away from the part. (Although the Sanguo kuden parts were designed to be snap off the runner, but it leaves behind a small hole)

Step 2 :
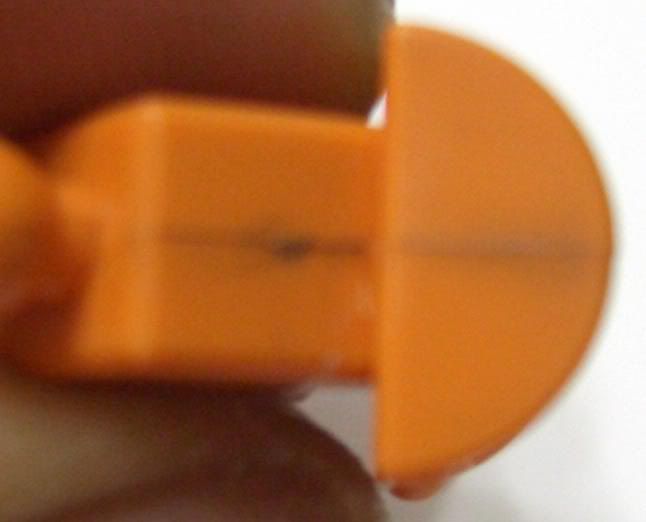
Trim the excess by placing the 'flat side' of the cutter flush with the part as shown in the picture below.
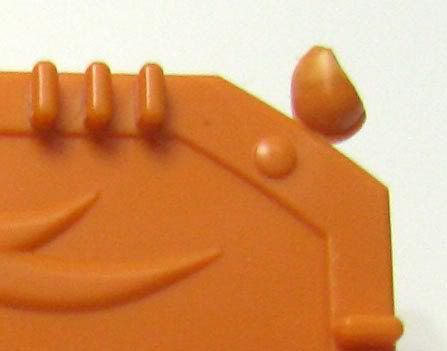
No matter how sharp your cutter is, it would leave behind a small "stub"

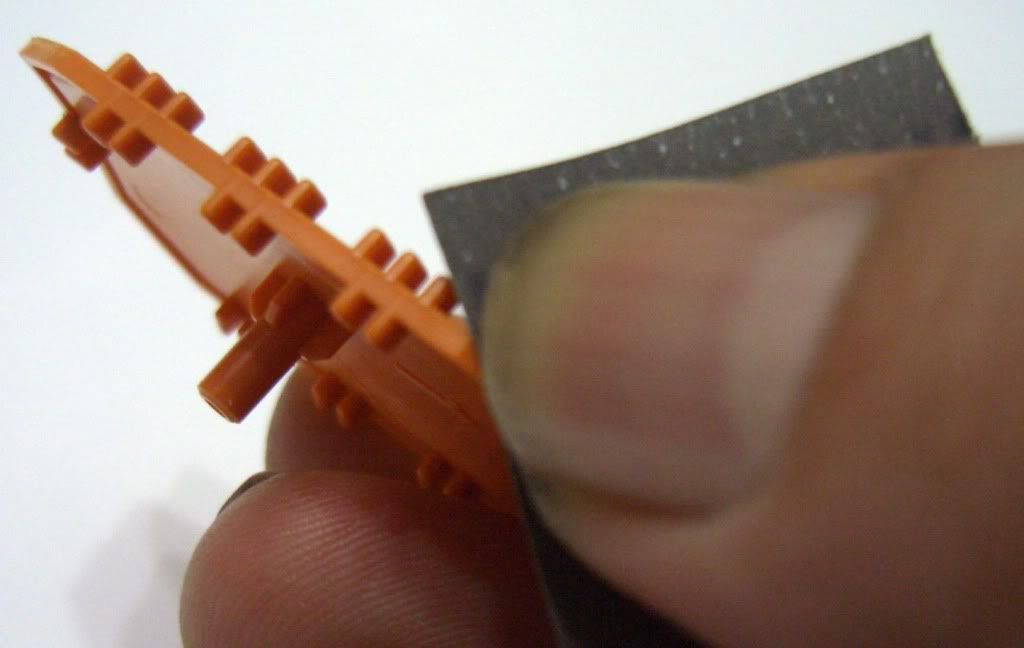
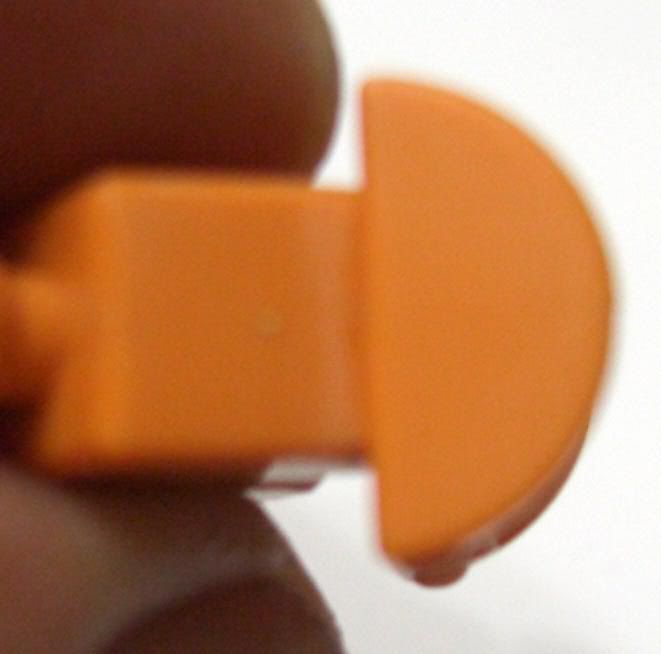
The stub can be removed using a sandpaper or a sanding stick.

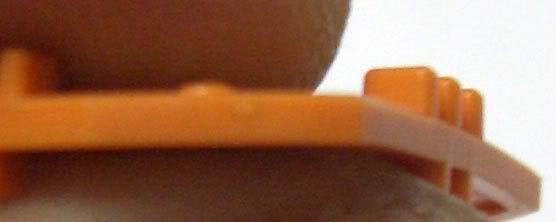
You will notice after sanding, the surface is flat but the stub still appears to be there. The mark is a slight discolouration of the plastic cause by fracturing of the plastic when we trimmed. If you intend to paint the model, the mark will disappear under the paint. However, if you do not intend to paint, you can make it less noticable by applying a thin layer of Tamiya Extra Thin cement. It will 'melt' the plastic a little and when it hardens again after a day, sand a little and the mark would not be obvious.

Next step is to remove 'mold line'. Mole lines can be found in all plastic manufactured using injection molding. I highlighted the mold line with a pencil. It can be remove by just sanding it. Notice the discolouration of the plastic after I sanded it with 400 grade sandpaper. Don't worry, just sand it with finer grade sandpaper and the plastic will return to near it's original colour.

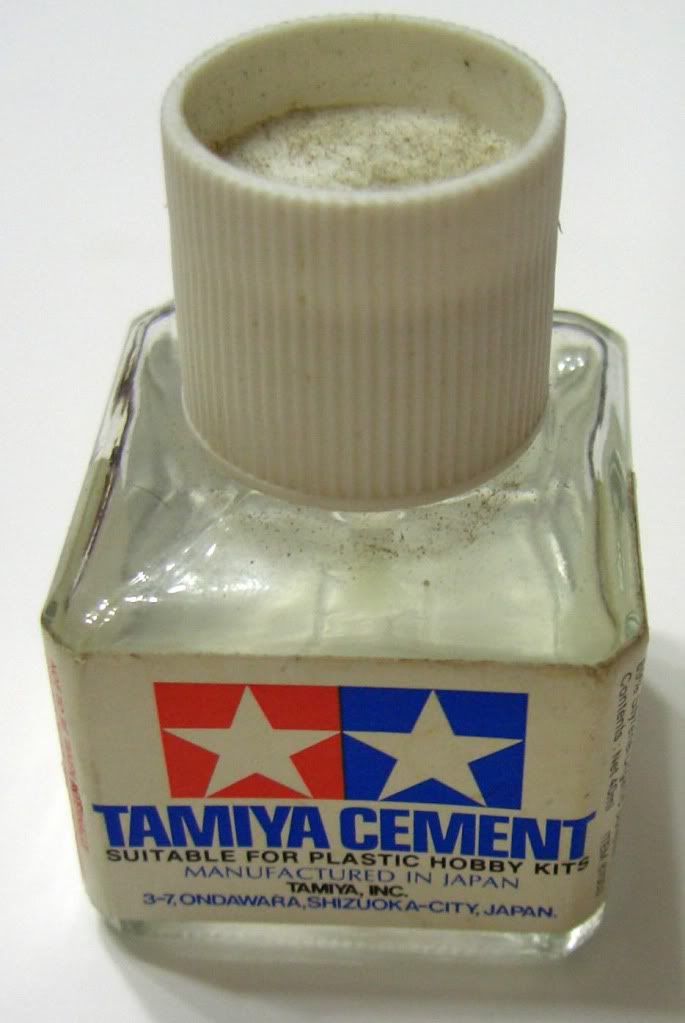
Lastly, some of the parts need to be cemented together. I use Tamiya cement (There are other brands out there, but do not use super glue). Apply the cement on one side of the part to be bonded. The cement will 'melt' the plastic slightly, which allows the plastic from both parts to fuse together. (For larger parts, do not use Extra Thin cement, it drys too quickly). Press the two pieces of plastic tightly, would be good if there is a little overflow of plastic. Make sure there is no gap between the two pieces of plastic.

This concludes the tutorial introducing basic tools like plastic side cutter, knife, sandpaper and cement. Next time I will show how to remove seam lines formed when 2 parts of plastic are bonded together. Hope this tutorial is help for you.
hey just wondering when u use sandpaper to sand down the stub/nub mark, wouldn't the sandpaper cause many unwanted scratches on the plastic itself? How would you avoid it? Thanks
ReplyDeleteHi, using different grades of sandpaper will help remove scratches. Use 400 sandpaper to removes the stub, and use 600 and 1000 sandpapers to reduce the scratches caused by the 400 sandpaper. If you are using new piece of sandpaper, especially 400, sand lightly to prevent deep scratches. After sanding with 1000 sandpaper, wipe the sanded part with a cloth (old T-shirt) and you will only notice a slight discoloration of the plastic. When you spray flat top coat on the plastic, the discoloration is almost not noticeable.
ReplyDeletewhat if i just use 600 grade sandpaper and sand off the stub straightaway. Will it leave a lot of scratch marks behind?
ReplyDeleteHi someBODY, sorry for the late reply. Using 600 still needs to be finished with 1000 grade sandpaper to remove the fine scratches. Starting with 600 is possible, but it will usually mean you need more sandpaper to do the same job. Hope that answers your question.
ReplyDelete