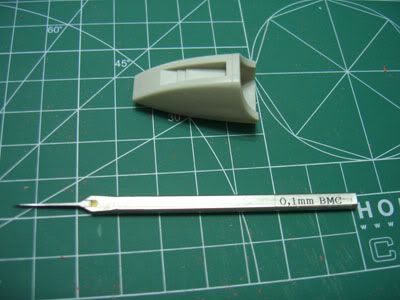
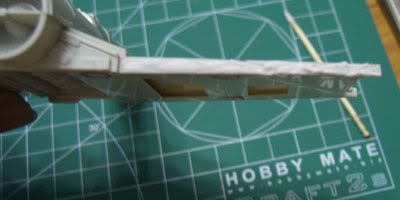
After sanding the parts, some of the panel lines were a bit shallower than normal, so I decided to deepen the lines.
I used a pen knife to deepen the mark first, then deepen the panel lines using 0.1 mm BMC scriber to deepen the panel lines. The benefit of using the BMC scriber compared to Tamiya Plastic Scriber is that the lines do not widen with each cut, the width of the line is always consistent.
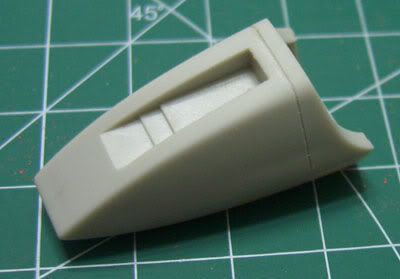
Now the lines looks more even, but it is taking pretty long time to make sure they are neat (especially right-angled lines) Looks like this build will take longer than expected, back to work.
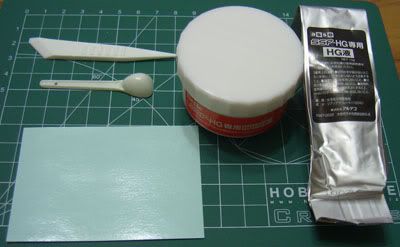
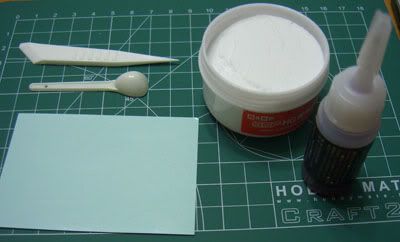
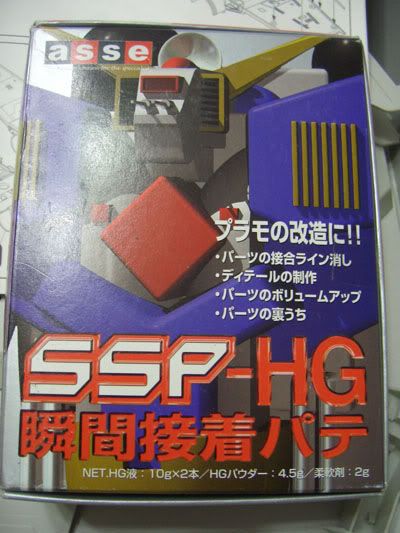
Using SSP-HG putty. The package contains a bottle of powder, 2 bottles of glue, 3 pieces of wax paper, a scoop and a applicator as shown in photo below.
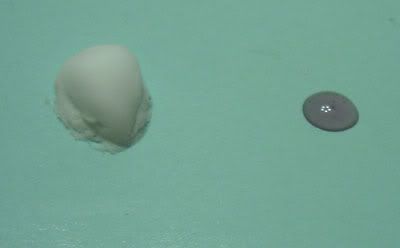
Place some powder on the wax paper and add some glue.
Mix the two parts till it turns a little pink. If too much powder is added to glue, it drys really quickly (in the matter of seconds). If you get the right mix, you got about 30 seconds to apply the putty.
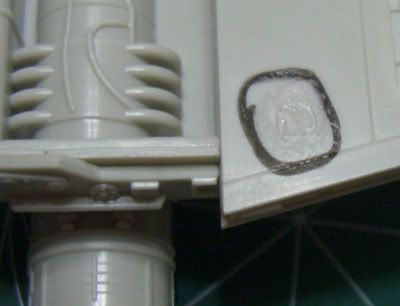
I marked out the sink marked that I want to fill with a gundam marker, so I don't have to look for them when the putty is drying.
By the time I started to take photos, the putty seems dry, will try sanding in a while just to be safe.
Back to sanding, at least I don't have to wait a day or 2 for the putty to cure. Back to work.
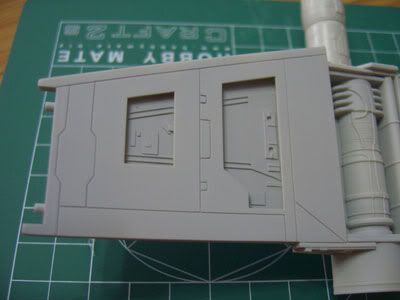
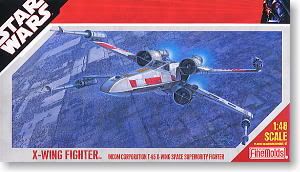
Inspired by DC23 1/72 X-Wing fighter, I dug up my 1/48 X-Wing fighter from my store and started a quick snap fit of the kit. I discovered quite a few sink marks on the kit, so it's probably going to take some time to remove the sink marks and redo the panel lines. Overall fitting for the kit is pretty good.
Trying out a new type of putty for this kit. SSP-HG. This putty is mostly use for sculpting and scratch building. It's not very popular in Singapore because of the cost (abt S$30). I am trying it out, because it will not sink as it dries like the Tamiya basic putty and it is fairly easy to shave and sand (Like sanding resin material).
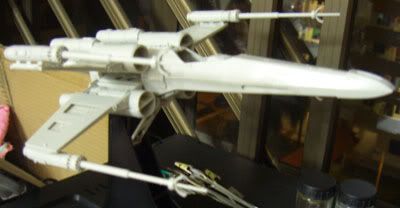
A snap fit of the kit, plenty of puttying and sanding ahead.
While taking a break, I was searching through Youtube and I found a video on applying decals. The video is in Japanese and I had to guess what the modeller was doing.
In the Part 1 of the video, the modeller already sprayed a layer of gloss coat over the paint before applying decals. At the start of this video, he uses a soft brush to any water trapped (looks like little bubbles on the decal) between the decal and the surface by brushing it out towards the edge. He then applies a decal softener (the one I use is Mr Mark Softener) to allow the decal to conform to the shape of the surface.Sometimes, Mark Setter needs to be applied to the decal to increase the adhesiveness of the decal.
Next, he uses a 2 part Polyurethane clear (PU Clear) to protect the paint and decal, also to achieve a high level of gloss. The 3 bottles are the PU Clear, hardener and thinner, the mixing ratio for the clear is very important. Note that spraying PU Clear can be hazardous, so a mask is a definite must if you intend to use it. He sprays a fair thick layer of clear ( must be thicker than decal to cover the decals). The video breaks for a short while for the clear to dry. Normally the PU clear takes about 1 day to dry and cure, depending on the amount hardener use. If less than the stipulated harder is used, the clear may take up to 3 days to cure. If too much hardener is used, the clear may appear very wrinkled. When the Clear was cured, he uses a 2000 grit sandpaper to sand the surface until the clear and the decal is levelled. He then finishes by removing the sanding mark by using a polishing compound.
When building gundam, decals are applied in similar way except we normally use gloss top coat (normally Mr Super Clear Gloss) seal the decal and finish with a flat coat after levelling the surface. Hope you learn as much as I did.